# Page content and modules
In the *Content* tab of a page, [articles](https://manual.converia.de/en/general/your-own-converia-website/article) or, if required, Converia functions (e.g. contact box, login, etc.) can be linked in the page structure. The link is created via modules, which also determines the arrangement on the page.
Fig. 1: Link articles
## Link articles
* *Add module* (Fig. 1, point 1)
* Select module type *Article* (Fig. 1, point 2)
* Select *module content* (Fig. 1, point 3) - If the item is clearly named, the selection can be made directly from the drop-down list using the *magnifying glass*. Alternatively, the *blue folder symbol* leads to the article overview, where the desired article can be searched for and accepted.
* The preview button (Fig. 1, point 4) can be used to display the front-end view, even if the page is not accessible via the menu or links. However, the page must be active in order to use the preview.
* The module type and module content are saved automatically and can be changed at any time.
{% hint style="success" %}
The preview link can also be used if **certain content is to be provided via a link or if content is to be linked to from other pages.**
The link is always unique and free of session-specific URL components (e.g. session IDs or one-time tokens), which could be copied from the browser address bar, which could be security-relevant or lead to error messages when calling up the link on other devices.
{% endhint %}
{% hint style="success" %}
If articles are to be arranged on the page, it is recommended to work with the module type [Show Articles in Columns](#show-articles-in-columns).
{% endhint %}
## Using multiple modules per page
It can be useful to work with multiple modules on one page. This contributes to better structuring of content and articles and prevents empty pages from being displayed, especially when using [visibility and access restrictions](https://manual.converia.de/en/general/your-own-converia-website/page-structure/create-and-edit-pages/page-content-and-modules/restrict-the-visibility-of-page-content). The modules can be arranged in any order. Figure 2 shows the front-end view, which corresponds to the back-end configuration in Figure 1.
Fig. 2: Front-end view of a page with multiple content modules
The upper area corresponds to the "Text with image" article in the first module content. Below this is the “Heading” article in the second module. The third module contains the article “Hint”.
{% hint style="warning" %}
In Converia, there are many different module types that fulfill different functions. Changes to these modules on existing, preconfigured pages can have serious consequences. We therefore recommend that you do not change these modules.
The *Article* module type should always be used to add content.
If a change is necessary, please contact Converia Support.
{% endhint %}
## Show Articles in Columns
The *Show Articles in Columns* module type offers the option of linking multiple articles together in up to four columns within a page column (see page templates).
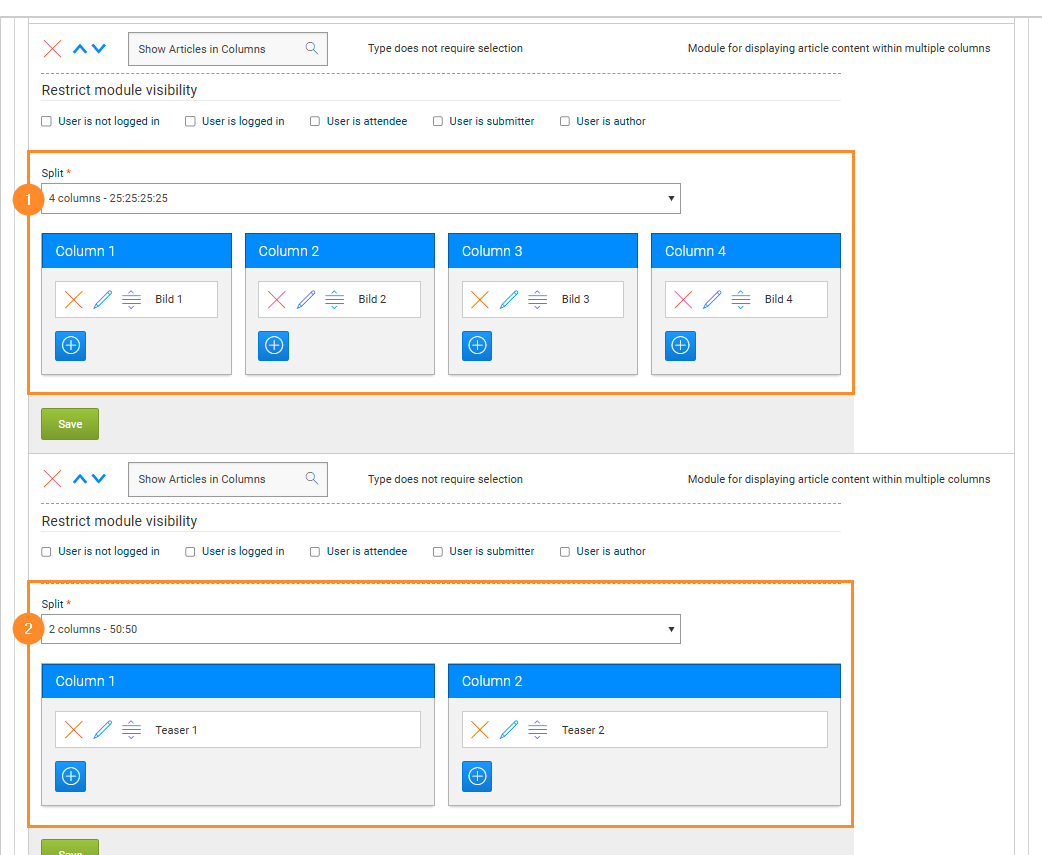
Fig. 3: Breakdown Article Columns
Fig. 4: Article columns
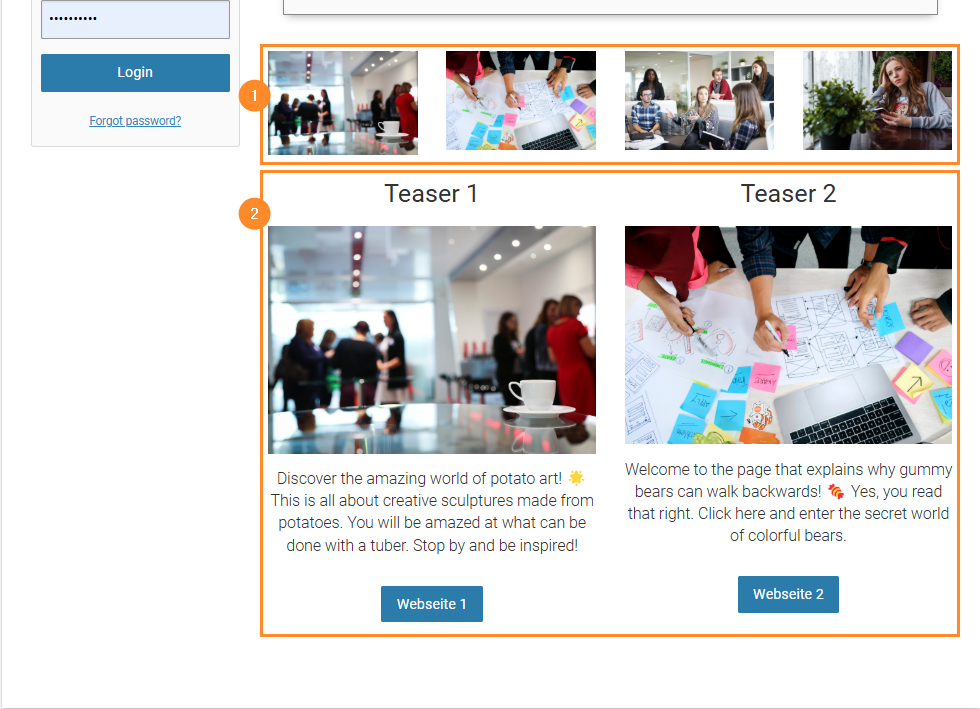
Fig. 5: Frontend view of a page with multiple article columns
Point 1 on figures 4 and 5 show the arrangement of 4 images in 4 *article columns*.
Point 2 on figures 4 and 5 show the arrangement of 2 teasers with image in 2 *article columns*.
#### *Article columns* can be used in different layouts (Fig. 3):
* **1 column - 100**
* There is only one column. Multiple articles can be linked together.
* **2 columns - 50:50**
* There are two columns. The articles share 50% of the available space. Multiple items can be linked together.
* **2 columns - 33:66**
* There are two columns. Articles in the first column can use 33% of the available width, articles in the second column can use 66%. Multiple items can be linked together.
* **2 columns - 66:33**
* There are two columns. Articles in the first column can use 66% of the available width, articles in the second column can use 33%. Multiple articles can be linked together
* **3 columns - 33:33:33**
* There are three columns. All articles share 33% of the available width. Multiple items can be linked together.
* **4 columns - 25:25:25:25**
* There are three columns. All articles share 25% of the available width. Multiple items can be linked together.
{% hint style="info" %}
If multiple articles in a module are arranged in columns below each other, each new row in a column starts below the article directly above it. If the articles are of different sizes or require different amounts of space, it can happen that they are not optimally displayed next to each other in the frontend, resulting in misalignment.
To ensure a neat layout in the frontend, it is therefore often better to place only one row of articles in each module and use a new module for the next row.
{% endhint %}