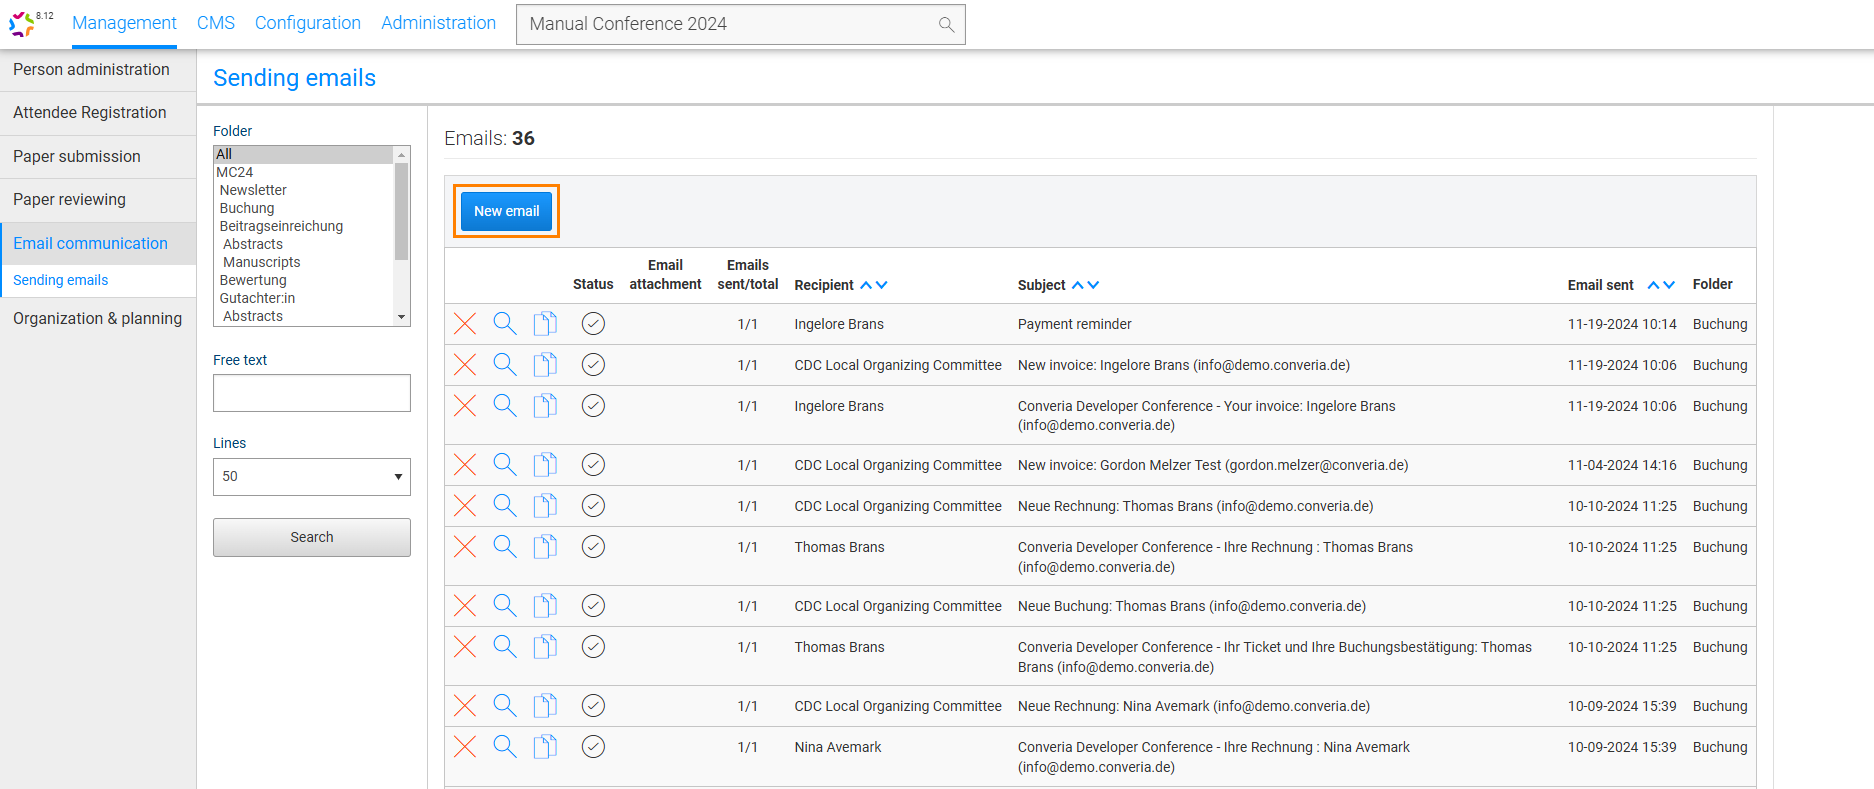
Fig. 1: Start screen for sending mail
Fig. 1: Start screen for sending mail

Fig. 2: Available replacements when creating an email
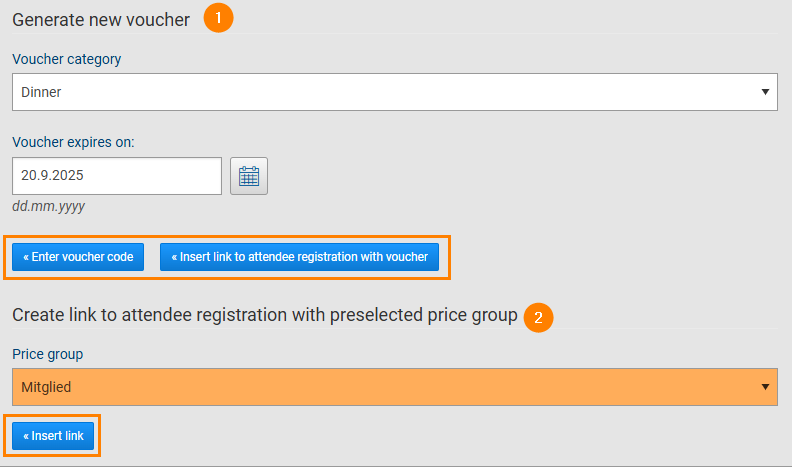
Fig. 3: Link to registration with preselected price group / voucher codes & registration link with voucher

Fig. 4: Creating an HTML email
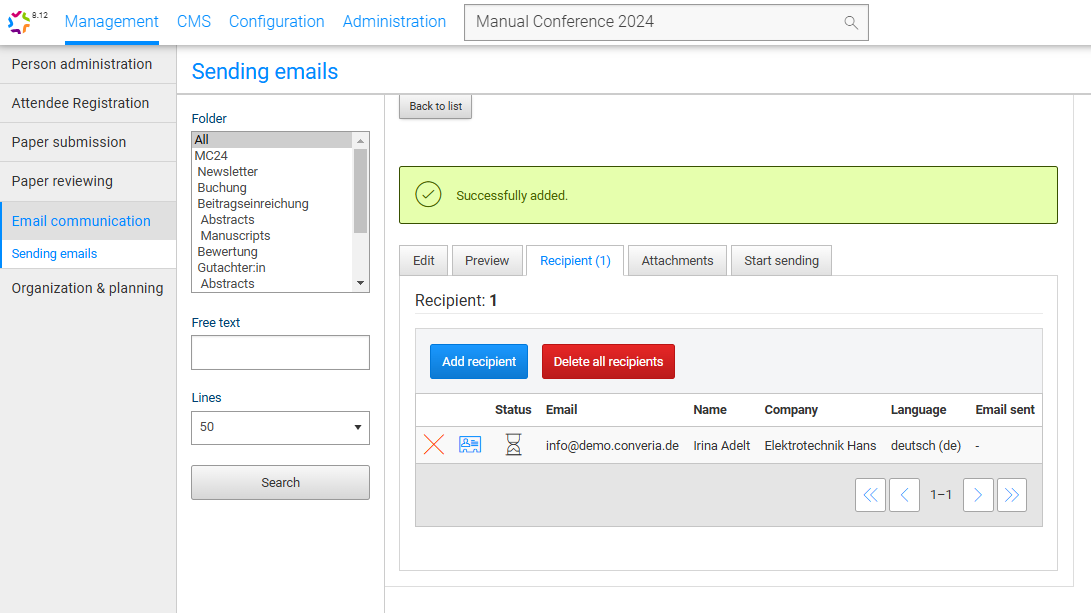
Fig. 5: Selection of recipients
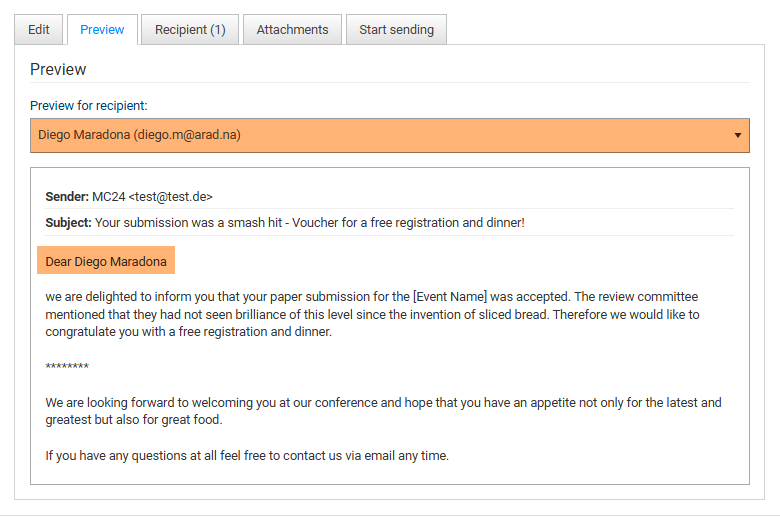
Fig. 6: Preview of the email from the recipient's perspective

Fig. 7: Attachments
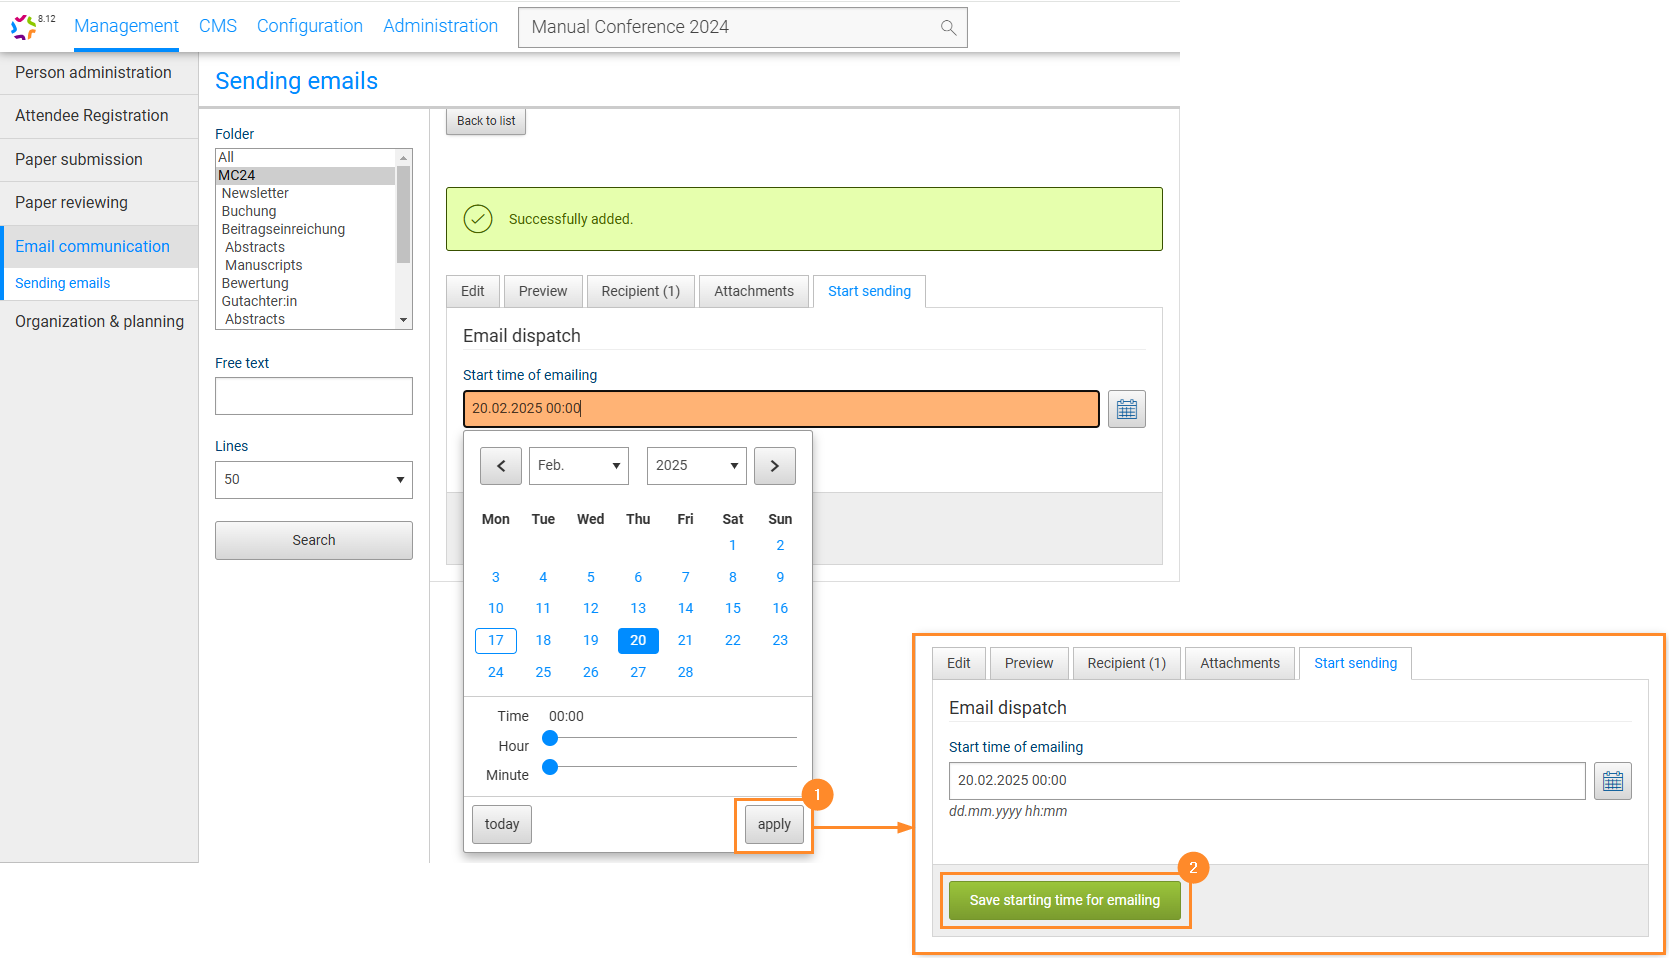
Fig. 8: Schedule start time